There may be more than one way to skin a cat, but when it comes to removing a vinyl vehicle wrap, there’s really only one option—that is, if you want it done right.
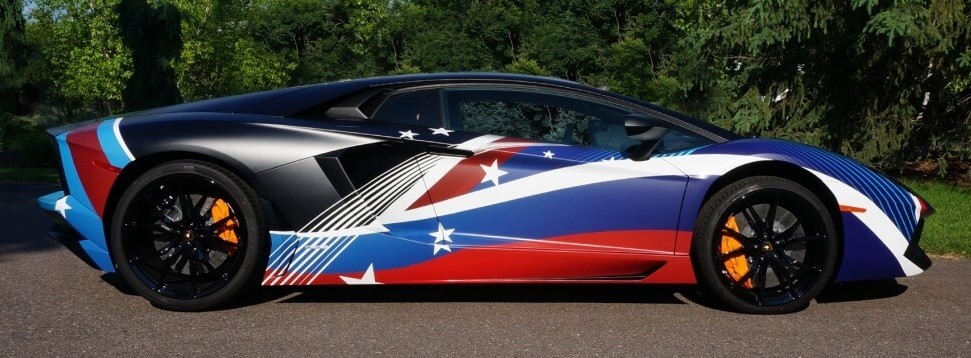
Has your vinyl wrap become damaged or faded? Perhaps your tastes have changed and you’re looking for a new design. Maybe your business has updated its branding or contact info. Or, you simply want to restore your vehicle to its original paintwork. Whatever the reason, you’ve come to the right place to get it removed safely.
With the proper tools, instruction, and—most importantly—patience, you’ll have your vehicle’s vinyl wrap removed without any issues. Before you begin, though, make sure you have everything you need at the ready.
WHAT YOU’LL NEED
- Heat Gun
- Plastic Razor Blade (We like Lil Chizlers)
- Adhesive Remover (We recommend 3M Adhesive Remover or Rapid Tac)
- Microfiber Towel
HOW TO REMOVE A VINYL VEHICLE WRAP
While it may seem complicated at first, removing a vehicle wrap is actually an easier process than you might think. Keep reading for our simple 6-step guide to vinyl car wrap removal.
STEP 1: PREPARE YOUR ENVIRONMENT
If possible, tackle this job inside a large, climate-controlled indoor space such as a garage. If your conditions are too cold, the vinyl is likelier to break apart and make things much more difficult. A really hot sunny day can be your friend, as a hotter surface temperature frequently makes the removal process much easier.
STEP 2: CHOOSE A CORNER TO TEST
Before you get too carried away, we recommend trying to remove a small corner to see how easily the vinyl will come off. If it peels off nicely using the instructions below, then proceed with the remainder of the vehicle.
If any of the following situations occur, you may want to consult a vehicle wrap professional in your area for assistance. They have special tools and techniques they can use to safely remove the difficult vinyl without causing harm to your vehicle.
Common issues with vinyl wrap removal:
- The vinyl doesn’t peel back with gentle to moderate force: While wrap vinyl is designed to not damage the underlying paint, if you pull back with a lot of force directly away from the surface of the vehicle, the risk of damaging the paint or clearcoat dramatically increases, especially if the paint was weak or non-factory to begin with.
- The vinyl chips off in small flakes: If this happens, you’re likely going to have a battle for the remainder of the car. In some cases, this is caused by low-quality vinyl. In other cases, it’s extreme age or intense conditions (like the hood of a car that has been baking in the Las Vegas sun). Professionals use special chemicals and techniques in situations like this, but even so, it’s going to take many hours of intense work to remove it completely and correctly.
- An excessive amount of residue is being left behind: This is typically the result of a lower quality, off-brand vinyl material. The better the material you buy, the easier and cleaner it will come off. In some cases, you can limit this effect by increasing or decreasing the surface temperature of the film on removal, but just make sure to continue to use hard angles when pulling the vinyl off so you’re not pulling straight away from the car.
STEP 3: APPLY HEAT
Using your trusty heat gun, slowly heat the section of vinyl you aim to remove. Keep the heat gun at least 6 inches away from the surface and slowly move it back and forth to distribute the heat as evenly as possible. If you’re too close or stay in one spot for too long, the vinyl may start to bubble or burn.
The vinyl should be warm to the touch, but never too hot to handle without gloves. If an area cools down and becomes difficult to peel, you can always reheat that section to make your job easier.
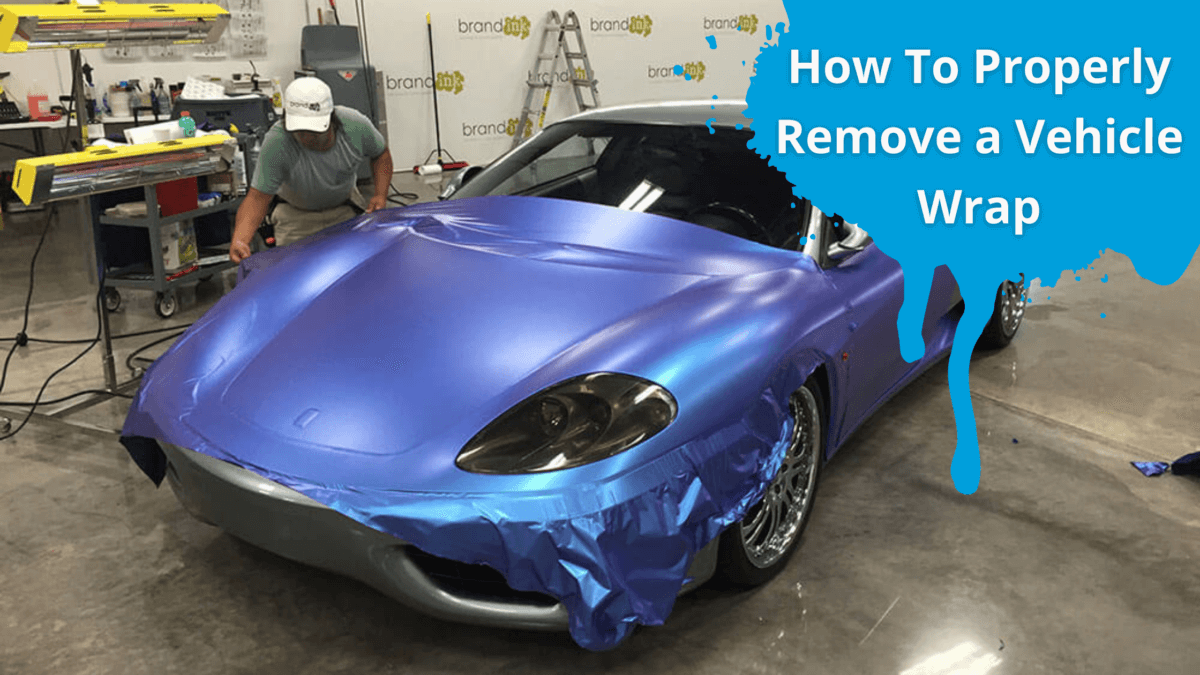
STEP 4: CAREFULLY PULL BACK THE WRAP
Once the vinyl section is properly heated, get your fingers under the edge of the wrap and slowly begin to peel it back. Be as methodical as you can and try to keep the material you’re removing at a 45-degree angle. If you go too fast, you run the risk of it tearing apart, which will end up slowing you down in the long run.
If you’re having difficulty getting the edges peeled with your fingernails, you can use your plastic razor blade to slide underneath and help pry them up. Whatever you do though, don’t attempt this with anything sharp or abrasive, such as a knife or screwdriver, as that may cause damage to the paint. Even a credit card wielded in the wrong manner can leave micro-scratches in the paint, so proceed with care.
STEP 5: APPLY ADHESIVE REMOVER ON ANY LEFTOVER RESIDUE
Once you have all the vinyl wrap removed and properly disposed of, it’s time to clean off any excess residue from your vehicle’s surface. We recommend using a 3M citrus-based adhesive remover or Rapid Tac. Both work well and are safe to use on nearly all cured automotive paints.
Spray the adhesive remover on any areas with residue and allow it to sit for at least a minute. Then take a microfiber cloth and wipe the area clean. The surface should feel smooth to the touch. If you notice any stickiness, apply a second coat.
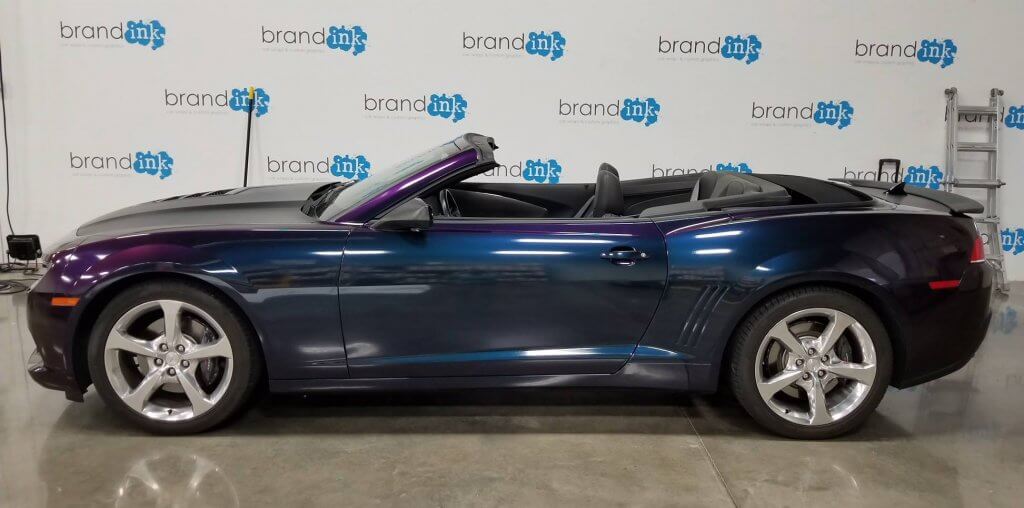
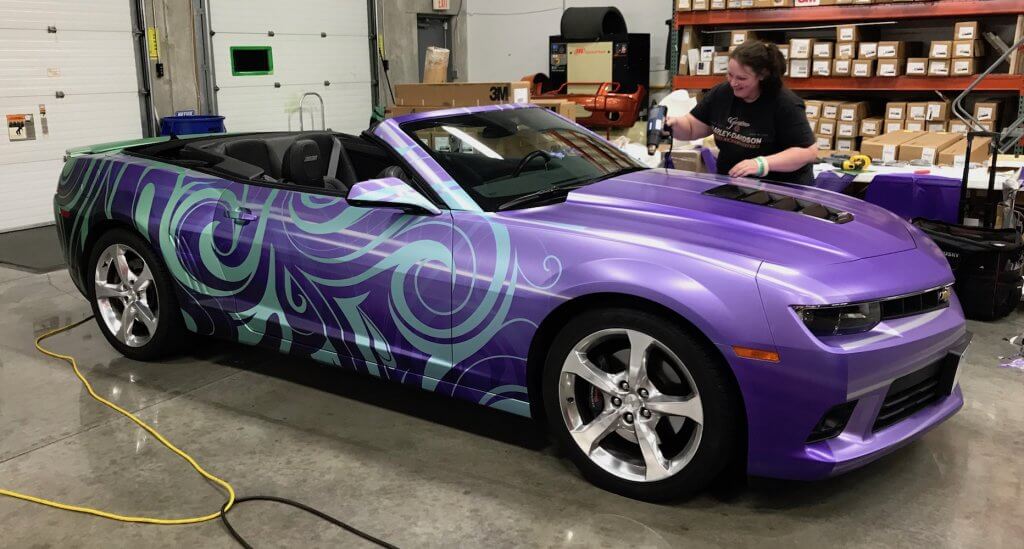
STEP 6: BEGIN YOUR NEXT DESIGN
Now that your vinyl wrap is completely removed, it’s time to celebrate a job well done. Unless you plan to keep your original paint, this is when you can start to plan for your vehicle’s next design. When you’re ready to get started, be sure to read our guide on how to apply a vehicle wrap like a pro.
If that all sounds a bit too complicated to attempt on your own, that’s okay. Your car is your pride and joy, so there’s no shame in contacting the vehicle wrap experts at Brand Ink for help.
At Brand Ink, we know car wraps. Our team is ready to help you find the solution to your graphic needs. We offer custom design, printing, installation, and removal services. From idea to completion, we are proud to provide outstanding client service and proven quality control.