Are you considering having a wall wrap installed in your office? If so, it’s important to properly prepare your space in advance to ensure a quick and flawless installation. But what does that entail, exactly?
In this guide, we’ll outline the five steps you need to take to prep your office space for a professional wall wrap. We’ll also discuss what to expect on installation day. So without further ado, let’s get started!
WALL WRAPS FOR OFFICE—HOW TO PREP YOUR SURFACE
When it comes to interior wall murals for corporate offices, there are a few things you can do to prepare your space for a smooth and successful installation.
1. Choose the best location
When selecting the perfect spot(s) for your wall graphic, there are several things you should consider. Ideally, the area gets a fair amount of foot traffic and natural lighting, so people can truly appreciate your design. Large, blank walls in lobbies, hallways, break rooms, conference rooms, and other shared spaces tend to make the best choices for wall wraps.
Not every wall surface is ideal for a wall mural, unfortunately. Surfaces to avoid include:
- Areas with high humidity
- Areas near heaters
- Surfaces with water pipes
- Walls with large cracks, peeling paint, or other damage
2. Move any obstructing furniture or fixtures
If there are any pieces of large furniture (e.g., couches, cabinets, desks, etc.) or other objects blocking access to the surface you’ve chosen for your wall wrap, be sure to move them out of the way prior to the installation team’s arrival. This will save a lot of time and give the installer unobstructed access to the entire area.
Any fixtures that can be easily removed without causing damage to the walls is also helpful, but not mandatory. Any pipes, trim, or other permanent obstructions should NOT be touched, but do mention them to the installer ahead of time so they can plan around them.

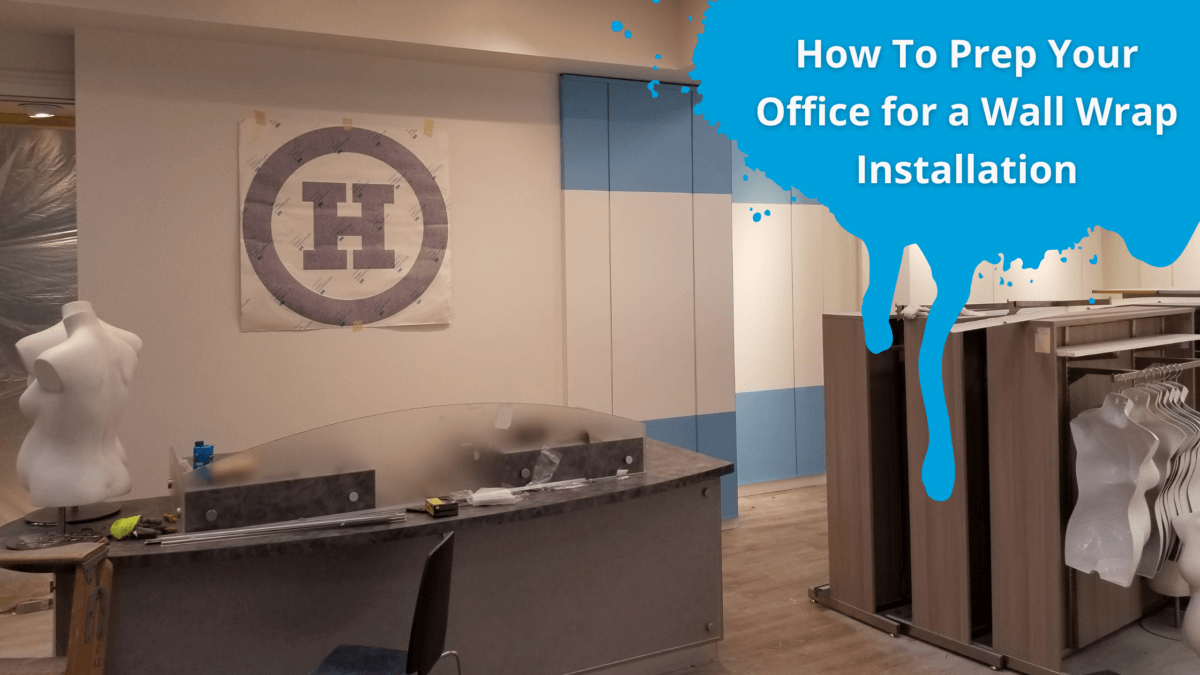
3. Fill in any cracks or holes
It’s important to have a smooth and even surface if you want your wall wrap to last. So, if you notice any small holes or cracks, make sure to fill them in with spackle or joint compound at least 24 hours prior to the installation team’s arrival. Once the filler is dry, sand it down until the surface is nice and smooth, and then clean the area of any debris (more on this later).
4. Prime and paint the wall (if necessary)
If you’re starting with a new wall that hasn’t been painted yet, now’s the time to prime it! This will help your wall wrap adhere better and last longer. Just make sure to use a primer that’s specifically designed for vinyl wall wraps—oil-based primers should be avoided, as they can damage the vinyl over time.
While the surface does not need to be painted before installation, keep in mind that wall wraps can be removed more easily from painted surfaces than non-painted ones. Newly painted walls should be left to dry for at least a week before the wall graphic installation.
If you think you might want to remove the wrap at some point down the road, painting the wall first is recommended. It’s a lot easier to paint an entire wall when it’s empty rather than trying to paint around your wall wrap later.
5. Clean the surface
Once you’ve taken care of any repairs and/or painting, it’s time to give the entire surface a good cleaning. Even if your walls look clean, there could be unseen dirt, dust, or other debris that will interfere with the adhesive’s hold on the back of the wall wrap.
To avoid this issue, it’s best to give the surface(s) a good cleaning before installation day. You can do this yourself with a mild isopropyl alcohol and water solution and a clean rag—or hire a professional cleaning service to do it for you.
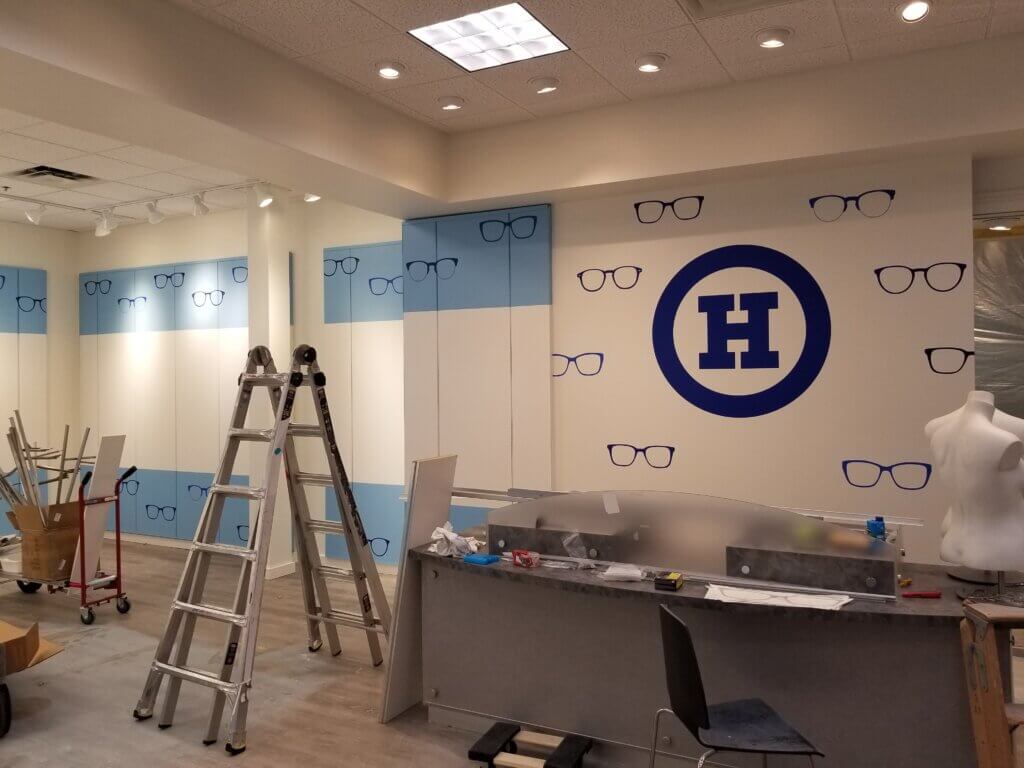
WHAT TO EXPECT ON INSTALLATION DAY
Now that you’ve prepped your office space and chosen the perfect location(s) for your wall mural, it’s time to sit back and relax—the hard part is over!
On installation day, a team of professional installers will arrive to take care of everything. They’ll start by surveying the area and making sure all the furniture and fixtures have been moved out of the way and everything is ready for the wall wrap installation to begin.
If you have any questions or concerns, it’s best to notify the team prior to their arrival. While we certainly encourage you to ask questions as they arise, this will save time and help avoid any unwanted surprises.
Are you still working on your design? If so, check out our 5 pro tips for effective commercial wall wrap design.
TAKE YOUR BRAND TO NEW HEIGHTS WITH BRAND INK
Even an award-winning recipe can be ruined by an inexperienced chef. If you’ve spent the time and energy to create the perfect wall wrap for your office—don’t throw it all away by hiring the cheapest installer in town.
Whether you’re looking to breathe life into a new brand or take your growing business to the next level, our team of professional designers, manufacturers, and installers has the expertise and experience to get the job done right—the first time. With our in-house design, quick turnarounds, and 3M-certified quality, wrapping your workspace with Brand Ink is the best way to elevate your brand in the eyes of your customers.
Contact us today to request a FREE wall wrap quote for your business.